A Complete Guide to Building a Reliable Bikepacking Setup

The quest to build a reliable bikepacking setup is one that continues indefinitely as you learn what works for you, based on the type of trip you are taking and the type of riding you like.
Whether you are planning to join a bikepacking race like Eric did on the 616 mile Ride Across Arizona or just an overnighter for fun in your home state, you have come to the right place.
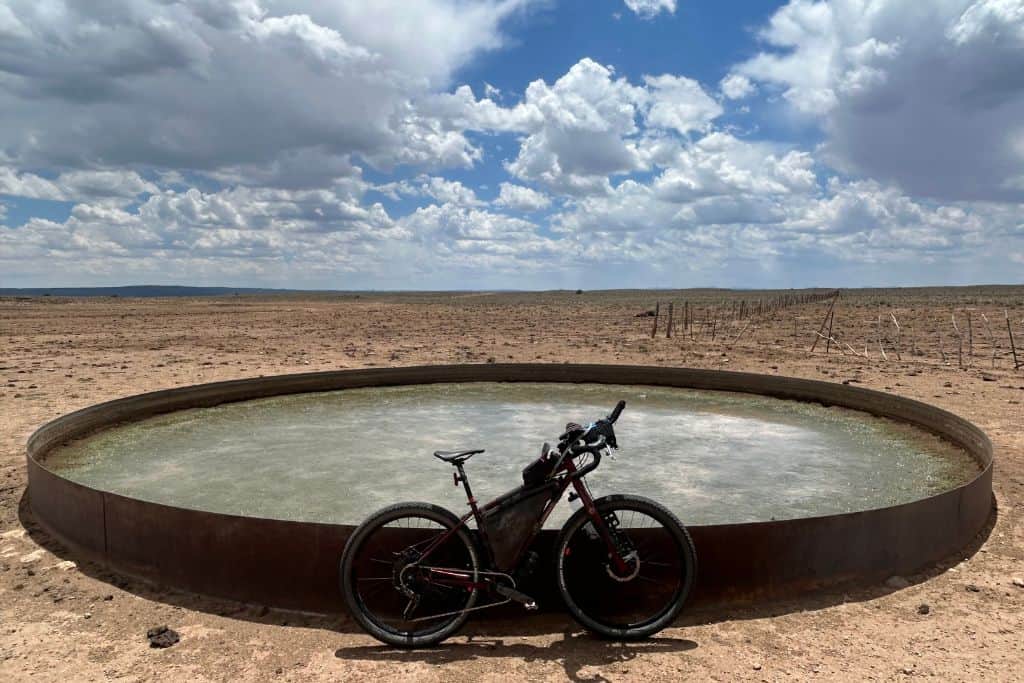
This guide will explore gear options offering our field tested and approved recommendations along with a free downloadable and printable packing list so you will be prepared for whatever you encounter on your next bikepacking adventure.
📌 Our #1 gear pick for bikepacking is a satellite communicator and navigation device like the Garmin inReach. We do not leave for a bikepacking trip without it, it’s a life saver!
Build A Reliable Bikepacking Setup: Step By Step
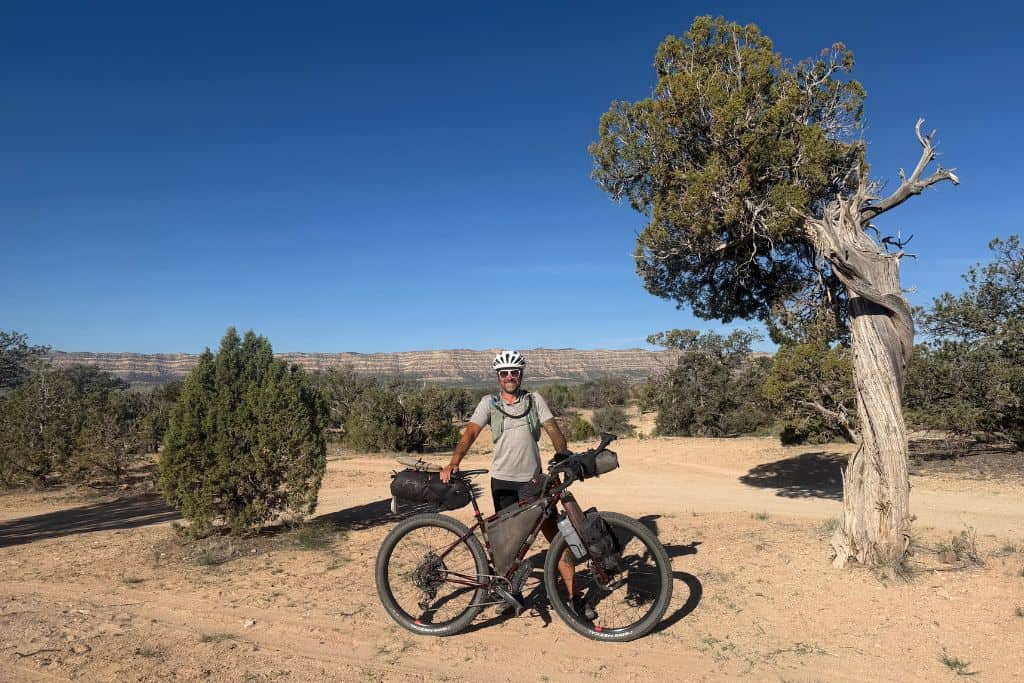
Eric and I both have Salsa Fargo bicycles which we settled on after loads of research as the “bike to rule them all”. Since we live in our van full time, we only have room for one bike a piece, so it had to be our everything bike, have lots of mounting points for bags of various sizes and be comfortable enough to ride 100 mile days.
Step 1: Choose A Bike
Think about what kind of bikepacking you would like to do and what features are most important to you.
Will you be doing 100 miles a day or 35, are you planning to tour on say a road style bike where you would have opportunity to stop and stay at hotels/restaurants or are you looking for a streamlined fast paced adventure/race bikepacking setup where you will carry your camping, cooking and sleep setup with you?
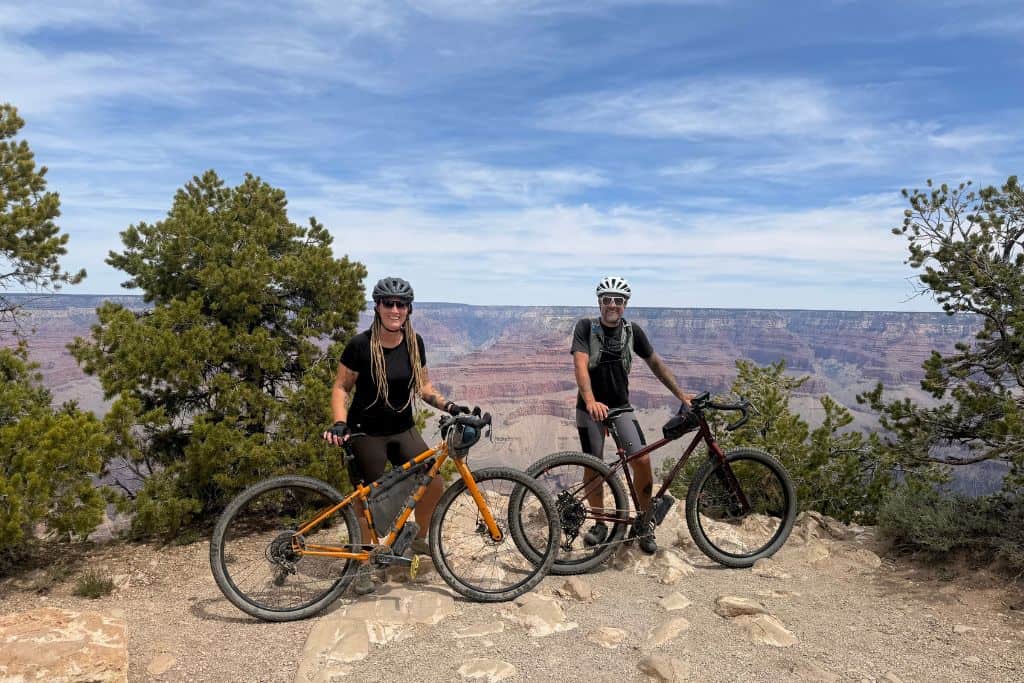
The variety of hand positions, tire clearance and mounting options that the Fargo has to offer are all unmatched by any other bicycle we could find which led to us both settling on a Salsa Fargo.
You don’t have to get a new bike, any bike is absolutely fine to try out bikepacking, so don’t worry too much about getting exactly the right one first try.
Ride the bike you have, see what works and what doesn’t and go from there. We both went through three other bikes before settling on our Fargos.
Step 2: Select Your Bikepacking Bags
You will need to select your bags based on both your comfortability of how they feel on the bike, weight-balance etc and how they attach to the bike, i.e. do you have a mounting option for it.
Again, do not despair, there is a solution/combination of bags that will work on any bike and we will explore some of the options below.
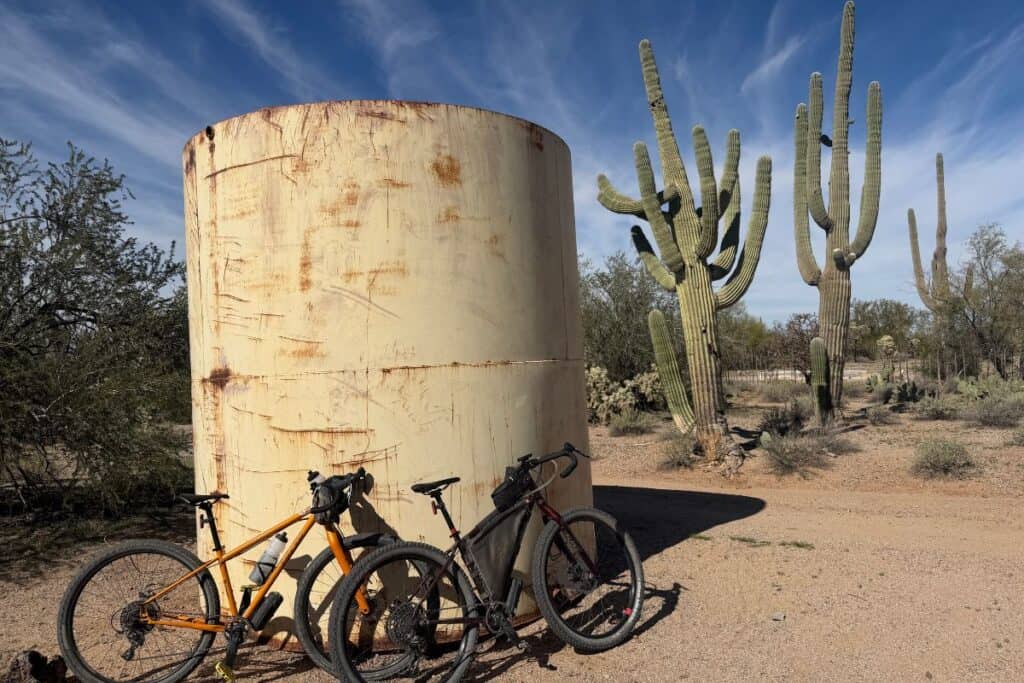
- Frame bag: This bag fits into the triangle on the frame of your bicycle, it is perfect for storing heavy things like water, and tools keeping the most weight at the center of the bike.
*️⃣ Pro Tip: Not all triangles are created equal, you must take measurements of your frame space to ensure you get a bag that fits correctly. Rippie Products is a fantastic shop in Tucson that makes custom frame bags and carries a variety of bags for bikepacking and every day riding, check them out!
- Seat bag: A seat bag is an aerodynamic bag that attaches to your seat post and quite commonly holds your camp setup, things you won’t need to access while riding, and it sticks out behind your seat without flopping over the sides of your wheels like panniers.
*Eric uses a Revelate Designs Terrapin System which is a seat bag for his ultra distance rides*
- Gas tank: This sounds strange on a human powered vehicle, but not when you know it’s to hold things like snacks, electrolytes and treats right where you can reach them on the top tube of your bike. These are sometimes longer and just called top tube bags.
*Eric’s recommendation is the Revelate Designs Mag-Tank 2000*
*️⃣ Pro Tip: When selecting top tube bags be sure to take into account your standover, I don’t use a top tube bag due to my short inseam, its just not comfortable for me!
- Fork bags or Panniers: This refers to bags that mount to cages on your front forks or panniers that can be used on front and/or back rack attachments.
Panniers let a bag rest on either side of the tire. It’s important to not overload either of these bag options as they will throw your balance off, try to pack them evenly weight wise.
📌 Eric uses dry bags coupled with these fork racks that we highly reccommend to carry some comfort items as well as tall tent poles and food/cooking items.
- Handlebar Bags: As you may have guessed these are bags that strap to your handlebars either directly or via a harness system.
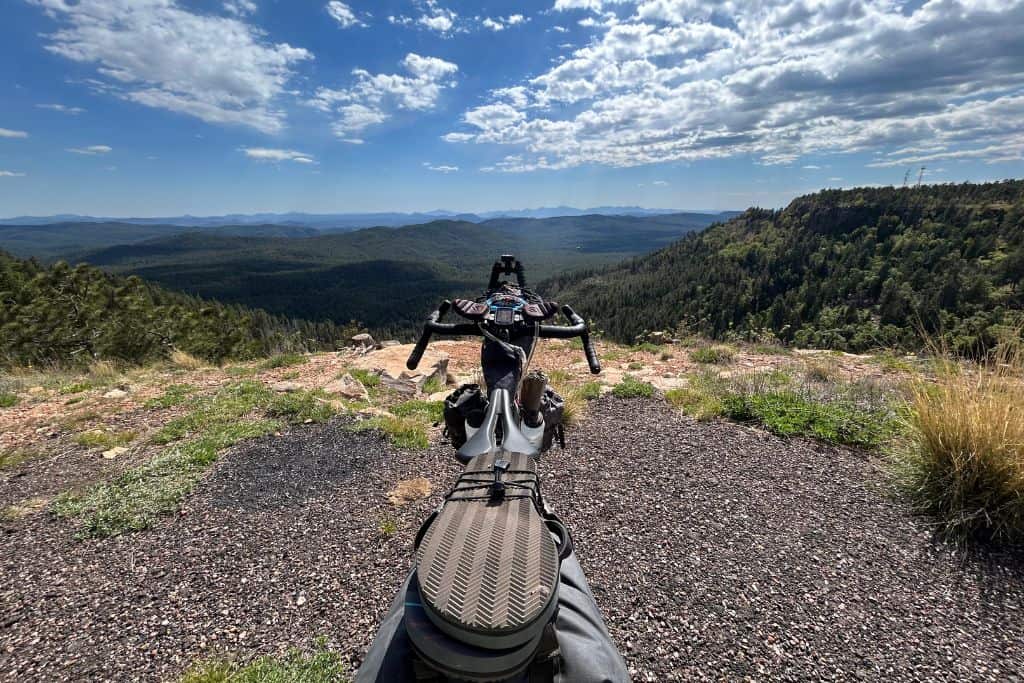
*Eric carries his tent and various quick at hand items in his Revelate Designs Pitchfork System which attaches to his Redshift Sports aerobars.
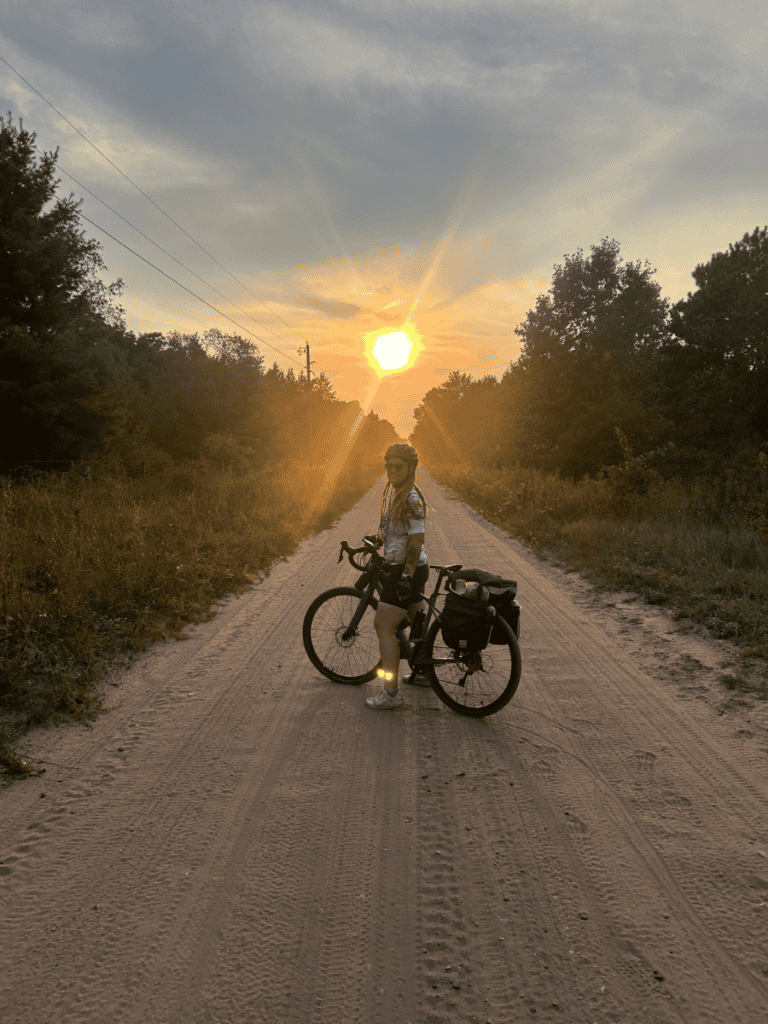
📌 My recommendation for handlebar bags is this Rhinowalk bag system. These would be great for longer trips or even a daily commuter.
- Backpack/running vest: This bag doesn’t attach to the bike itself, but is a great option for light weight setups to carry the things that you want on your person such as Garmin InReach, phone and wallet.
It has a water bladder in it too so it can be used to carry some extra water when there are long distances between resupply points.
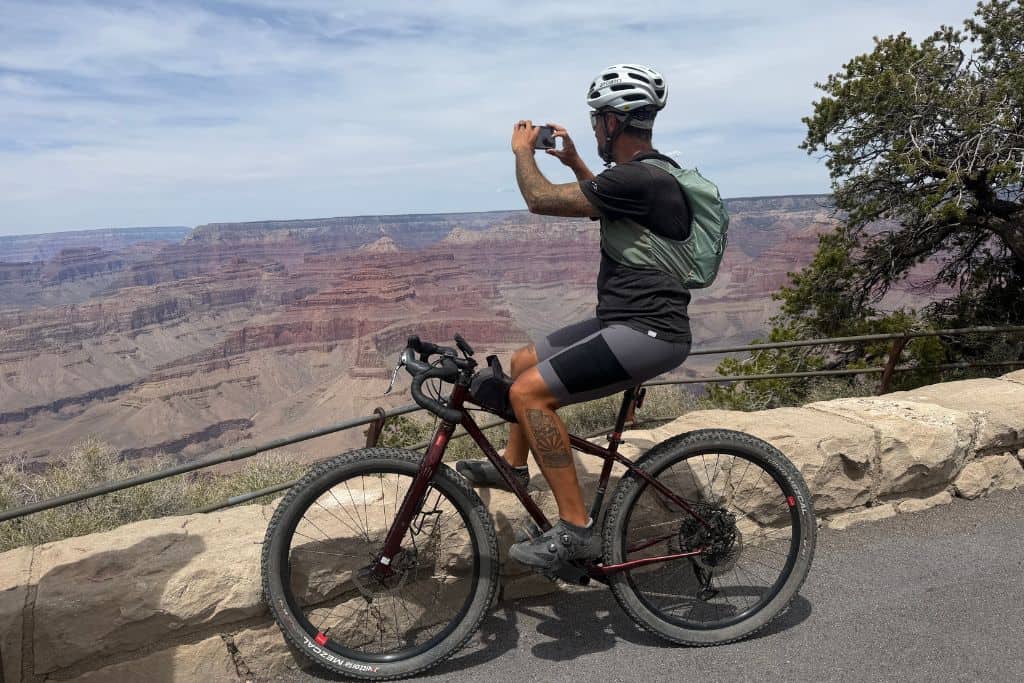
📌 Eric uses a Salomon running vest to carry his phone, in-reach, water bladder, toilet kit, first aid and other small items that need to be close at hand. This doubles as his day pack making it a great multi sport item to add to your gear collection.
Step 3: Pick Your Bikepacking Adventure
There are so many options to choose from. If you are just starting out, a single overnight to somewhere close to home may be your pick just to get your feet wet.
We have enjoyed exploring routes on bikepacking.com where there are photos of the route, GPS files and ratings for difficulty.
Or perhaps you are ready for a cross country ultra endurance ride like the Great Divide Mountain Bike Route or the newly developed Golden Gravel Trail. Make your selection and get to packing!
Bikepacking Setup-Gear List
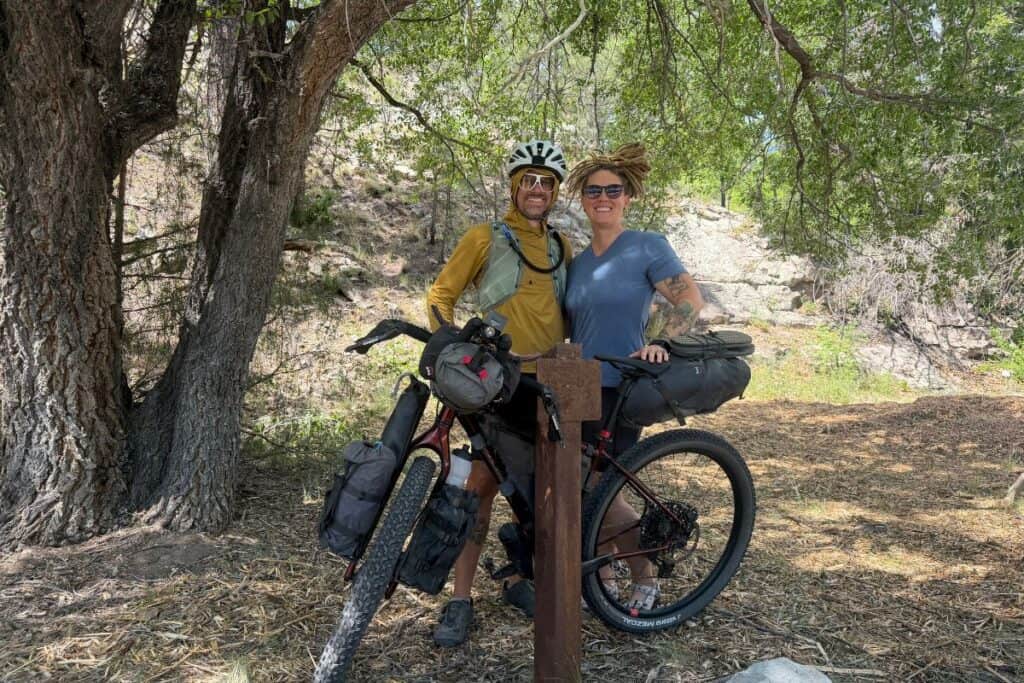
Now that we have explored the basic bag options and given some suggestions on what works for us, let’s get into the packing list. Organization is key and since both of us AND our bikes live inside the van, we have become experts on packing and storage ideas.
When preparing for a bikepacking adventure, covering all the bases for basic survival is key. Food, water, shelter, and let’s face it, technology/tools are going to be critical for a successful trip.
👀 You can request our FREE printable bikepacking checklist below and read on to get our specific gear recommendations that we have field tested and compiled for you.
Shelter and Sleep System
When beginning to pack for your next bikepacking adventure, you surely will want to check the weather report. Consider the temperature carefully when selecting what sleep system items you will be bringing to ensure you are never too cold, too hot or too wet.
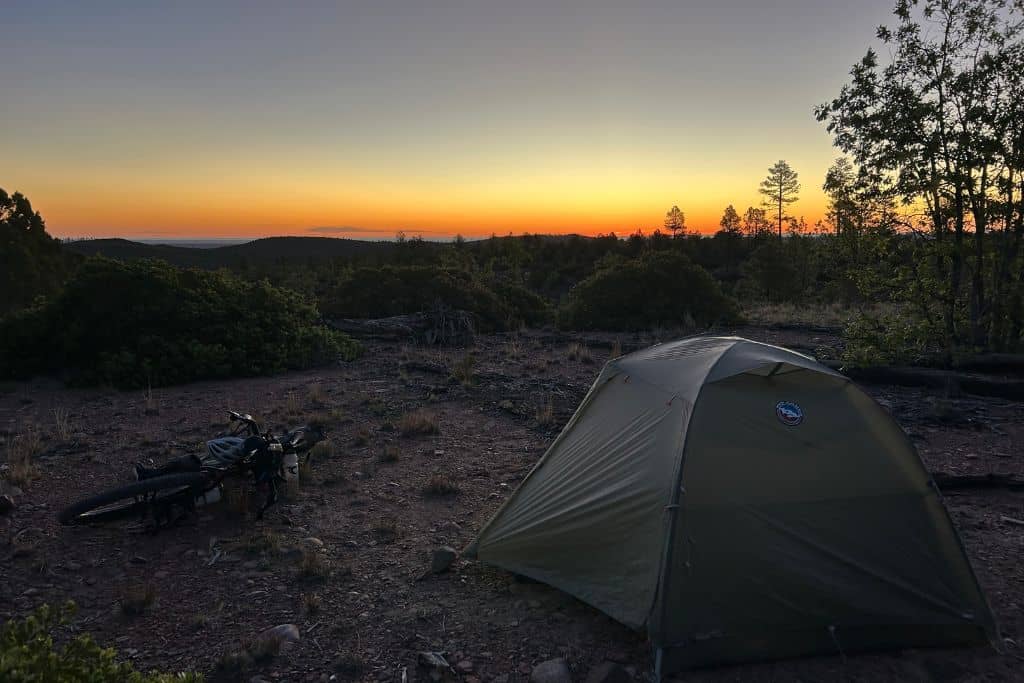
- Tent or Bivvy
*Eric uses our backpacking tent because it is what we have (it doubles as our combined sleeping quarters when backpacking) and also because he can’t bring himself to sleep in a bivvy, too coffin like and it isn’t great if there is any kind of precipitation.*
📌 Treat yourself to a proper shelter and grab your own Big Agnes – Copper Spur tent. This two person tent is another multi-sport must-have item for your bike/backpacking stable.
- Sleeping pad and inflatable pillow
Eric & Jo picks, Apollo Air sleeping pads and Trekology pillows keep you up off the ground and help to retain heat on cold nights. - Sleeping bag or quilt
Eric uses a quilt and since I am always cold, I use a beefier sleeping bag. It is important to mind the weather report and take gear appropriate to the climate you are traveling in. It is always better to be prepared for the worst be that heat, cold, or precipitation for safety sake.
Cooking/Food/Water
We all know that expending a lot of energy like you do on a big bike ride means you have to eat, and drink of course. Perhaps you are on an overnight that conveniently goes through a town where you can grab dinner and so a cooking setup isn’t needed but if that is not the case there are some lightweight simple options to provide you with the sustenance you need to make the trip and feel good doing it.
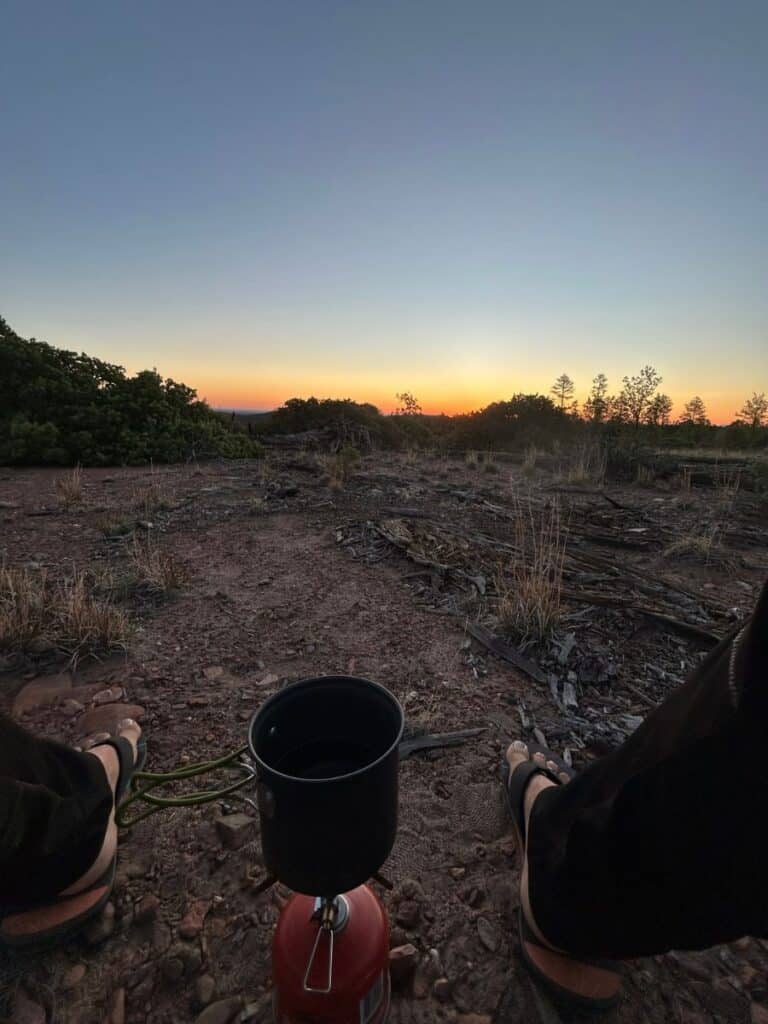
- Cook Kit & Fuel
We started with this cook kit and while we are still using the pans we have since replaced the flatware with Toaks titanium and the burner has been replaced with a Soto Windmaster. For solo trips Eric uses the 1.2L pan, a spoon, cup and the burner with a small iso-butane canister (Pro tip: you can’t fly with fuel so be sure to scope out where to source it locally on your destination trips.) - Food
Some of our favorites include huma gels (great for a little energy boost without bogging down your guts),Tailwind water additive, Peak Refuel freeze dried meals, protein powder for recovery and Honey Stinger orange blossom gummies - Water/Filter
Take water anywhere you can fit it! If you are going to be manning a support vehicle for a remote cycling route, water fill’s look a little different but we’ve got that covered too. We go over how we run SAG for long distance bike routes.
*️⃣ Pro tip: NEVER turn down water, you can’t know when things may go awry and that extra little bit will make all the difference. Eric and I both have a water carry option in our frame bags with a bladder from Apidura as well as cupholder bags and various bottle cages.
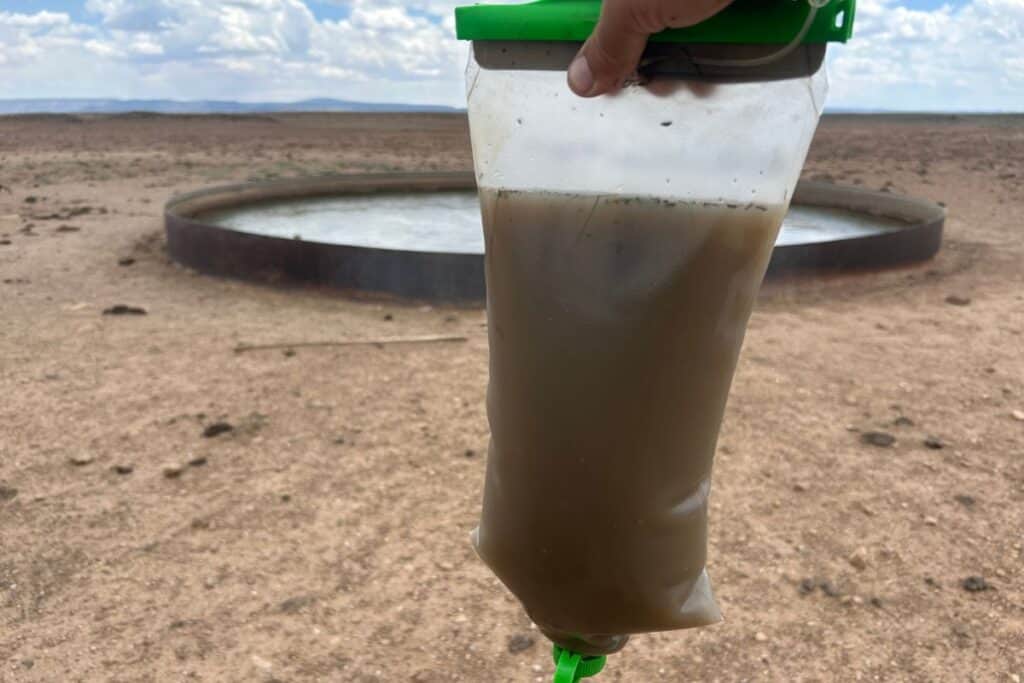
Everybody’s fueling needs are going to be different, be sure to listen to your body, get plenty of electrolytes and drink water!
📌 A water filter system could save your life. Taking along a simple setup like this Sawyer squeeze is a must for all your outdoor adventures!
Clothing/Gear
Just like your sleep setup, making sure you are aware of the weather when selecting your clothing is crucial to ensure a safe and pleasant adventure.
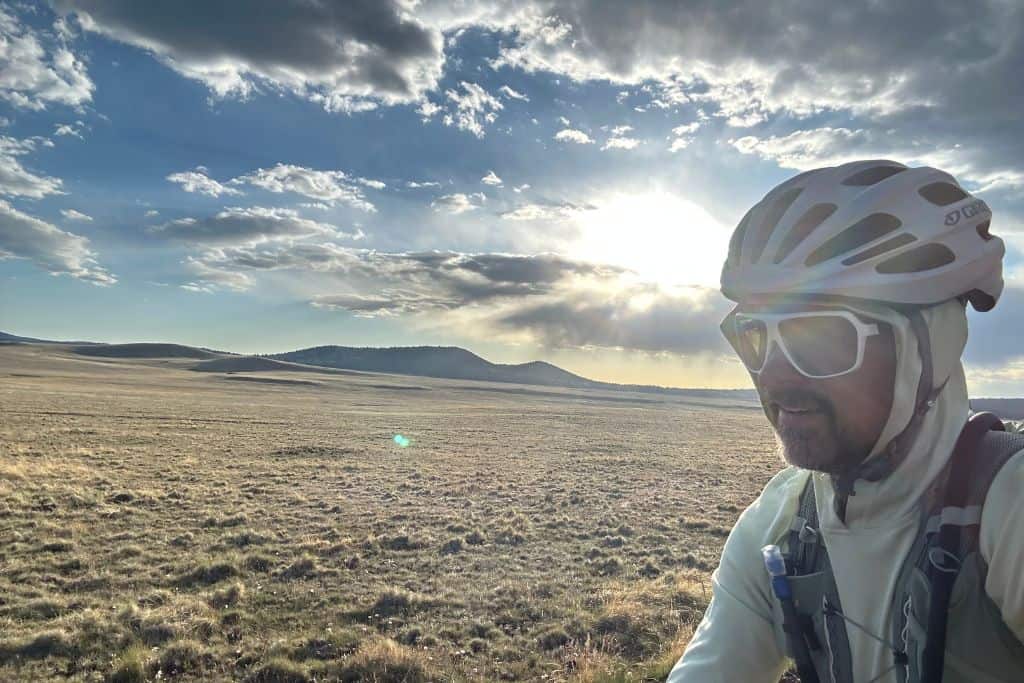
- Puffy coat/Raincoat
- Neck gaiter/buff, warm gloves, warm hat
- 2 pairs socks, (wear one and one as backup)
- Warm pants like these mountain biking pants put over bibs to ride in the cold or even to sleep in if needed
- Sandals/camp shoes
- Bibs or your preferred bike shorts (I typically would want two pairs of bibs to rinse and dry/alternate daily which is better suited to women’s chamoise hygiene)
- Sun hoodie and a wool t-shirt to alternate both on and off the bike as needed (do NOT sleep in sweaty/wet clothes)
- Fingerless gloves for riding (optional)
- Helmet/Sunglasses
- Bike shoes
👀 Don’t forget, we have a FREE downloadable packing list for you so you are sure to pack everything you need.
Request your FREE copy below!
Tools/Repair Kit
Inevitably you will need to make either a repair or an adjustment to your bike while on multi day adventures, so having a toolkit with you is very important.
- Small bottle of chain lube
- Toothbrush/small rag for cleaning drive train
- Tire patch kit (bacon strips and boot patch)
- Zip ties
- 2-CO2 cartridges and CO2 pump (for tubeless tires)
- Manual pump for back up
- Replacement chain links
- Electrical tape
- Bike Multitool like this Alien ii
📌 Having a multitool that is compact and ready for any scenario is key to a reliable bikepacking setup. When you are miles from the closest bike shop, you will be grateful for this handy tool if trouble arises.
- Spare tube (even for tubeless in case of major tire damage)
- Spare valve cores if using standard Presta valves (check out these Filmore valves for an easy upgrade that require no spares!)
- Presta to Shrader adapter (if needed)
- Spare brake pads
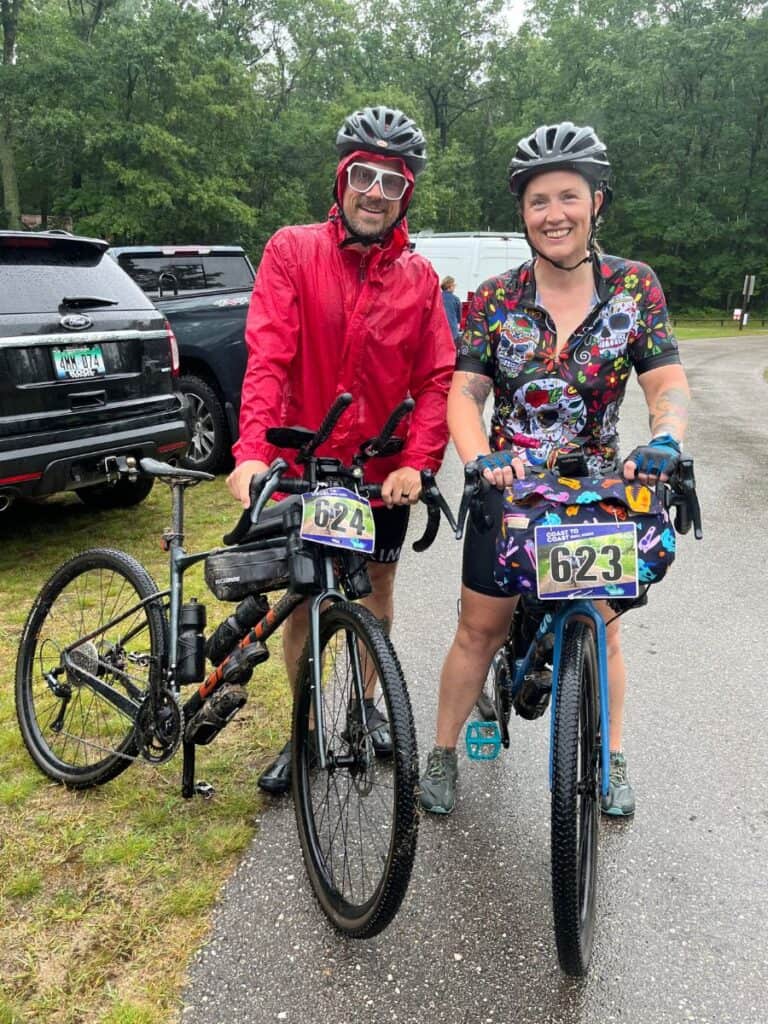
*️⃣ Pro Tip: In adverse conditions such as rain mixed with sand, brake pads can deteriorate faster than you might imagine. That’s firsthand experience talking – we got caught in the rain during a 100 mile-one day race where after the first 50 miles we had zero brakes!
Navigation & Electronics
Without fail, routes are going to be wrong sometimes, so making sure you have the appropriate items for navigation and re-routing when the need arises is very important.
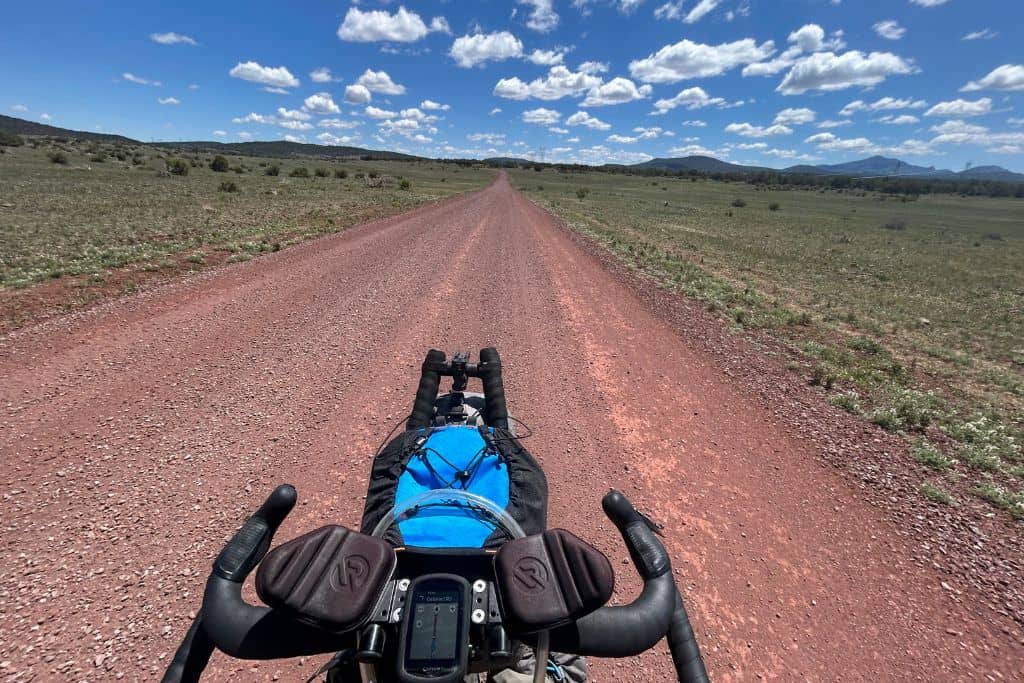
- Garmin Edge 840 – bike computer for offline navigation
- Garmin inReach Mini 2 – satellite communicator, a crucial survival tool
📌 A satellite communicator and navigation device like the inReach is crucial when venturing out for long distances in remote areas. This device also links to track leaders if your rider is competing in a race or ride that uses the tracking website. This is literally your lifeline, do not get caught without it!
- Rechargeable, on bike headlight- 1800 lumens is what Eric uses
- Rechargeable headlamp for in camp
- Rechargeable taillight
- Charging bank/ cords for all items (phone, inReach, lights etc.)
- Cell phone
*️⃣ Pro tip: Whether you use Strava, RideWithGPS or another navigation app, always download all routes onto your phone for offline use in case of any malfunction in navigation gear.
Toiletries/ Hygiene
When bikepacking in remote areas it is important to follow leave no trace principles and that applies to bathroom functions as well as everyday trash production.
You also will need to take along some hygiene items to stay healthy while on the old dusty trail.
- Toilet paper/disposable resealable bag for used paper
- Travel pack of wipes such as Dude Wipes or Good Wipes
- Cat hole shovel or WAG bag depending on locale requirements
- Toothbrush and toothpaste
- Lip balm
- Sunscreen
- Hand sanitizer
- Pain killers/ RX meds/ Vitamins
- Menstrual cup if applicable
- Chamoise butter
- Deodorant
Bikepacking Setup Optional Items
As previously mentioned, the weight and extent of what you carry on your bike is totally dependent on your preferences and the type of journey you are taking. Some optional “comfort items” really go a long way in making your experience memorable, in a good way!
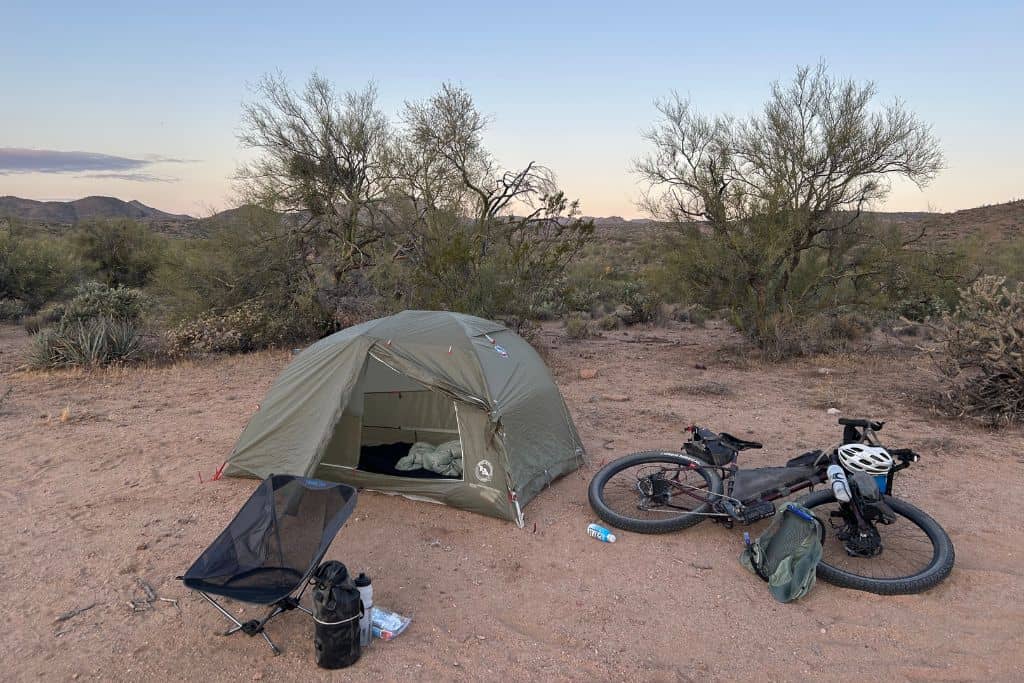
- Lightweight camp chair
This is one item Eric makes room for even though it’s a “bigger” item. After a long day in the saddle he really appreciates having a chair to sit, someplace to lean his back while he has dinner in the evening and breakfast in the morning.
📌 This lightweight camp chair clocks in UNDER 2 lbs and also under $55 which is a steal for ultralight camping equipment.
- Kindle or hard copy book
Depending on the type of ride, having a book to unwind with in the evening can be a lovely relaxing way to end your days, or start your mornings. - Journal or travel watercolor kit
I personally have a travel watercolor kit and would enjoy painting in the morning or evening if taking a leisurely bike pack and journaling is an easy way to remember your favorite moments from your journey
*️⃣ Pro tip: keep it light, use the Kindle app on your phone to save carrying another item
The Wrap Up
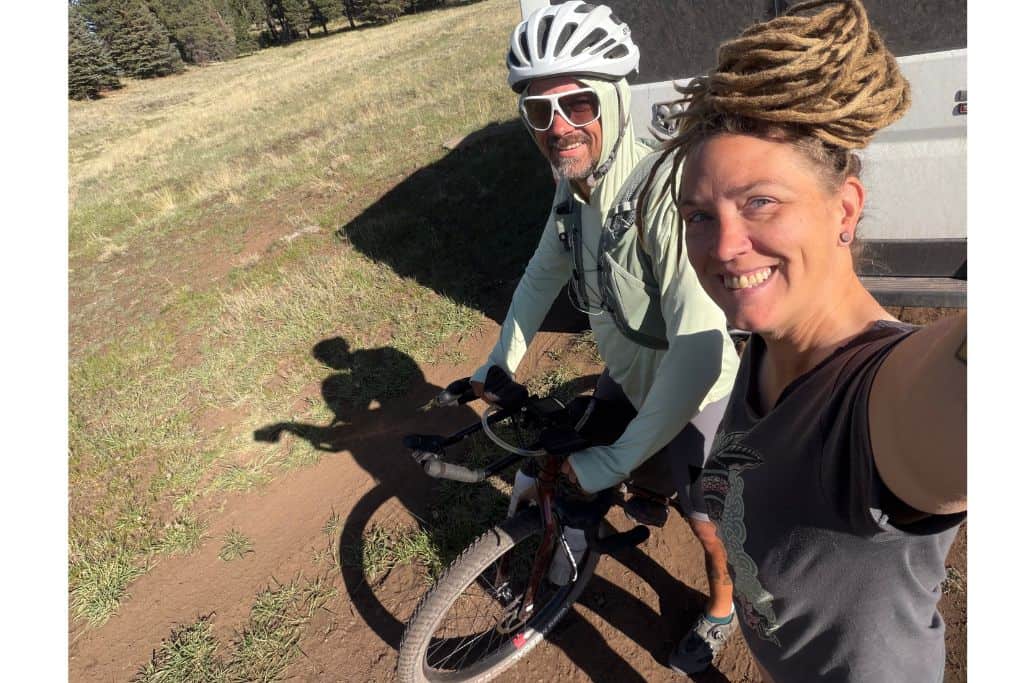
Hopefully you were able to get a handle on what a basic bikepacking setup might look like. You will definitely learn as you go what works and what doesn’t according to your specific preferences. Don’t worry, you don’t have to get it right on the first try and likely won’t, it’s just the nature of the beast.
Eric has already changed a number of things and will surely change many more as he prepares for and completes the Great Divide Mountain Bike Route this summer.
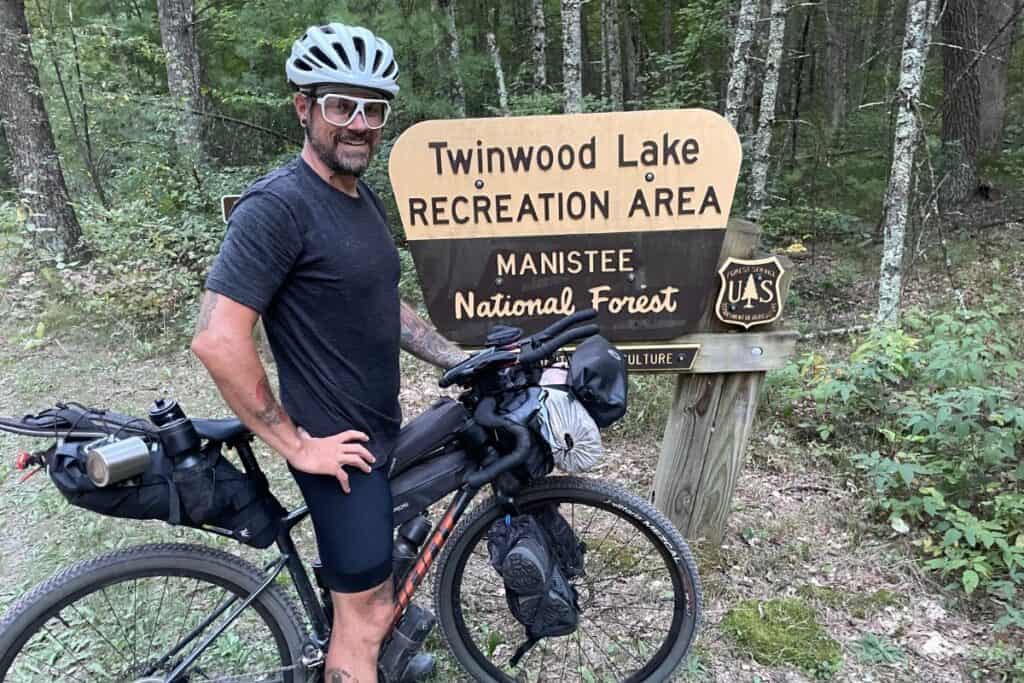
Every year this epic bikepacking journey begins on the second Friday in June and goes either from Banff Canada to Antelope Wells New Mexico as the Tour Divide. It can also be ridden in reverse from New Mexico to Canada and extended to Jasper instead of Banff which is how Eric will be tackling it.
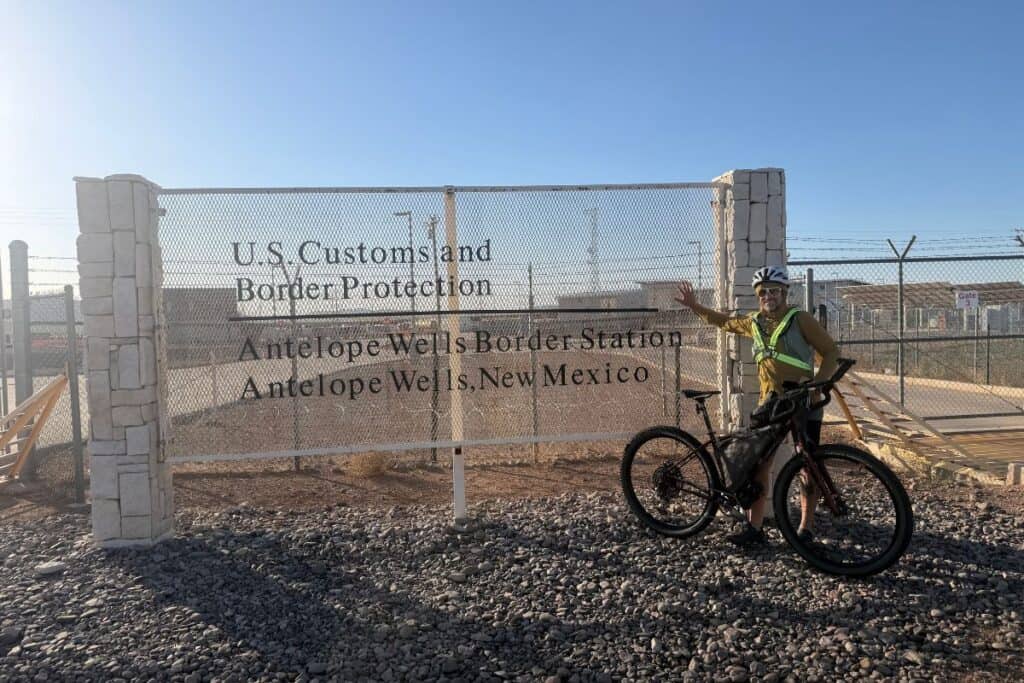
That’s right, he is looking at approximately 3,000 miles with near 200,000′ of elevation gain. The southbound race version is unsupported, but Eric will be riding the GDMBR northbound supported by me in the van.
It is his 40th year goal to complete the route, hopefully within a month’s time. There are sure to be some adjustments on this epic undertaking and we will definitely be here to share what we learn along the way. So, until next time, wander often and ride far!